Learn Access Now! Chapter 3 Previous Section in Chapter 4 Next Section in Chapter 4 Chapter 5
Chapter 4: Creating Another Database
(This is section 3 of 4 in this chapter)
Testing Your Layout
Now that you have defined your table layout, it is time to test it out and refine it. You can do this easily using the Datasheet for the table. Display the Datasheet for the Business Customers table (refer to Chapter 2 if you need help with this). You should see a blank Datasheet, as shown in Figure 4-13.
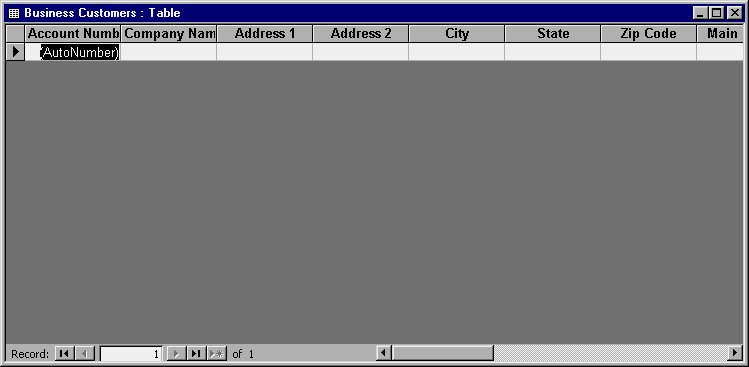
Figure 4-13 The Datasheet for the Business Customers table.
Take a moment to look at the Datasheet's appearance. If the field names don't appear like you want them to, you can switch to the Design view window and make changes to the Caption properties of the fields whose labels you find unsatisfactory. (You may remember from Chapter 3 that Access displays the Caption property at the head of each Datasheet column.) To switch between the Datasheet and Design view windows, use the leftmost tool on the toolbar. (This tool switches between Datasheet and Design views.)
That is how you refine your table; you enter information into the Datasheet, observing what you can make better. Then, you switch to the Design view window to make the change. When the change is made, switch back to the Datasheet to keep entering information. This iterative process helps you to quickly make your table best suit your needs.
With your table design complete, enter a record. For your first record, use the information shown in Table 4-6.
| Field Name | Value | |
|---|---|---|
| Account Number | (Access will fill this in) | |
| Company Name | Birch Enterprises | |
| Address 1 | 3456 Maple Lane | |
| Address 2 | PO Box 549 | |
| City | Kansas City | |
| State | MO | |
| Zip Code | 64133 | |
| Main Phone | 8162375632 | |
| Fax Number | 8162375633 | |
| Contact | Ed Birch | |
| Contact Phone | ||
| Account Opened | 3/2/99 | |
| Credit Limit | 1500 | |
| Last Order | 7/8/99 | |
| Active | Yes (select the check box) | |
| Salesperson | John Davis | |
| Comments |
Table 4-6 Information for the first Datasheet record.
As you enter information, you may come up with a way to make data entry easier. For example, entering phone numbers could be easier if you set the Input Mask property for the phone number fields.
Switch back to the Design view window and select the first phone number field (Main Phone). You can set the input mask for this field by following these steps:
- Click your mouse on the Input Mask box at the bottom of the Design view window. You should see a Builder icon (a button with three dots on it) appear at the right side of the box.
- Click your mouse on the Builder icon. You should see the Input Mask Wizard dialog box appear. Select the Phone Number input mask, as shown in Figure 4-14.
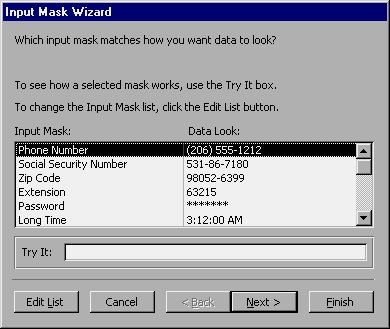
Figure 4-14 The Input Mask Wizard dialog box.
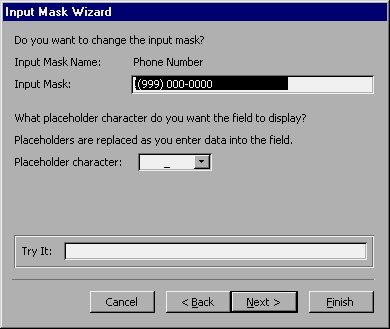
Figure 4-15 You can change the placeholder character with this dialog box.
- If you desire, change the placeholder that the input mask will use (the default is the underline).
- Click your mouse on the Next button. The Wizard will then display the dialog box shown in Figure 4-16.
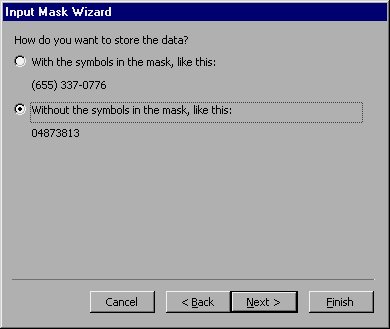
Figure 4-16 You can change how Access stores information with this dialog box.
- Specify how you want Access to store information saved through the input mask. You can save the phone number with or without the formatting characters (the default). Since the field length for your phone numbers is only 10 characters long, you should save the value without the formatting characters.
- Click your mouse on the Next button. Access displays the final dialog box for the Input Mask Wizard, as shown in Figure 4-17.
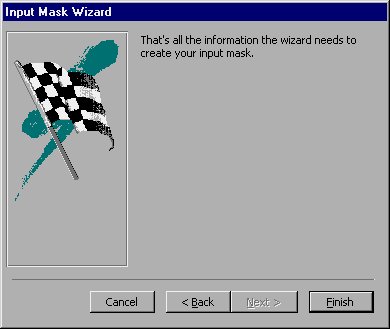
Figure 4-17 The final Input Mask Wizard dialog box.
!(999) 000-0000;;_
You can repeat steps 1 through 8 for each of the other phone number fields, as well. When you move out of the Input Mask property field, notice that Access reformats the mask so it appears as follows:
!\(999") "000\-0000;;_
Access adds the extra characters so that the mask conforms with its own internal specifications.
When you are done adding your input masks, click your mouse on the Datasheet view tool. In response, Access asks you if you want to save your changes to the table layout (see Figure 4-18).
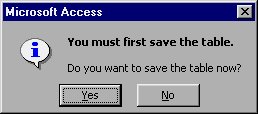
Figure 4-18 Access asks you if you want to save your changes.
Click your mouse on Yes to save your changes and return to the Datasheet. You can now enter another record to see if your improvements worked.
Learn Access Now! Chapter 3 Previous Section in Chapter 4 Next Section in Chapter 4 Chapter 5