Learn Access Now! Chapter 10 Previous Section in Chapter 11 Next Section in Chapter 11 Chapter 12
Chapter 11: Using Your Data with Word and Excel
(This is section 2 of 4 in this chapter)
Sharing Data with Word
The primary reason to have Access and Word work together is to create mail-merge documents. These are documents into which you merge information when the document is printed. For example, you can merge names, address, account balances, or any other information you can think of. Possible uses for mail-merge documents include the following:
- Form letters
- Mailing labels
- Catalogs
- Order forms
Actually, the list of the merged documents you can create is limited only by your imagination! Regardless of your eventual use of the mail-merge document, the steps you go through are all the same.
The Scenario
The scenario is this: You have recently moved, and you want to send letters to all your friends to make sure they have your new address. You have the names and addresses of your friends in the My Friends table you created earlier in this book. Using Access and Word together, you can quickly and easily create the letter and get it ready to mail.
In preparation, you prepare an upbeat note in Word (see Figure 11-1). Your letter is formatted just the way you want it, and you have left room to later insert your friends' names and addresses. You save this document on your hard drive as Moved.doc.
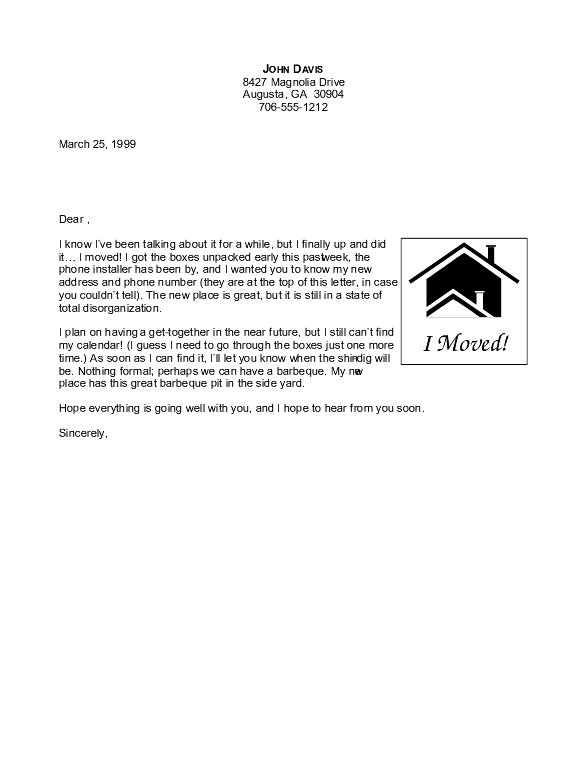
Figure 11-1 The letter you want to send to all your friends.
Note: The file Moved.doc is included on the companion CD-ROM. You should copy it to one of your Word document directories before proceeding.
Using the Word Mail Merge Wizard
The first step is to use the Word Mail Merge Wizard, which is provided with Access. This Wizard helps you transfer information into a format you can use with Word. To start the Wizard, follow these steps:
- Open the Friends.mdb database you created earlier in this book.
- If you want to use information from a table, click your mouse on the Tables button in the Database window. If you want to use information from a query, click your mouse on the Queries button in the Database window.
- Select the name of the table or query you want to use.
- Choose the Office Links option from the Tools menu, and then choose Merge It with MS Word from the resulting submenu.
Access, in turn, starts the Microsoft Word Mail Merge Wizard, displaying the dialog box shown in Figure 11-2.
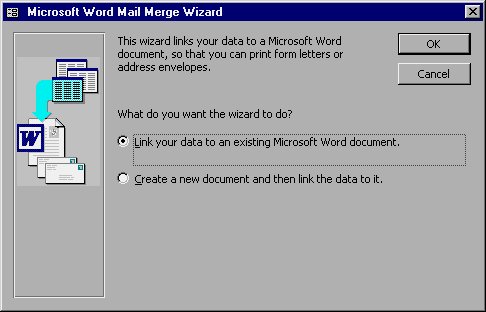
Figure 11-2 The Microsoft Word Mail Merge Wizard.
This is the only step you need to perform in Access. All you need to do is choose whether you are using an existing document or a new one. Since you have already created the file in Word, select the first option and then click your mouse on the OK button.
Loading the Word Document
Access will now display the dialog box shown in Figure 11-3, asking you for the name of the Word document you are going to merge with the Access data. This is a standard Open dialog box, with which you should be well acquainted. Use the controls in the dialog box to select the file Moved.doc, and then click your mouse on the Open button.
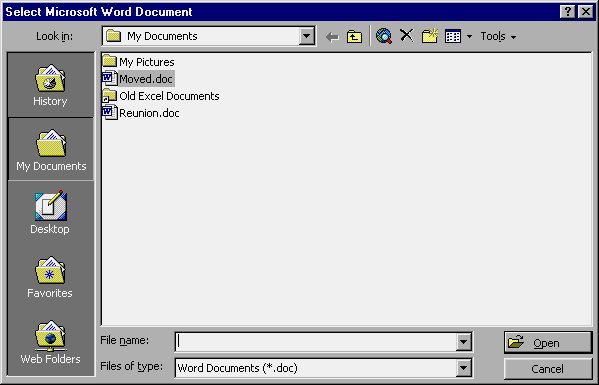
Figure 11-3 The Select Microsoft Word Document dialog box.
The Access Mail Merge Wizard causes Word to run and load the document Moved.doc. Once Word is running, you should notice the Word task on your taskbar, even if you cannot see the Word program window on your screen. To display your document, switch to Word by clicking your mouse on the Word task on the taskbar. You may then need to maximize the Word program window so you can fully see the document on which you are working.
By this point, the link between your Access data and the Word document is complete. You still need to specify where you want your Access data printed, however. The vehicle for doing this is the Mail Merge toolbar near the top of the Word program window, just above the document. Figure 11-4 shows what your screen should look like.
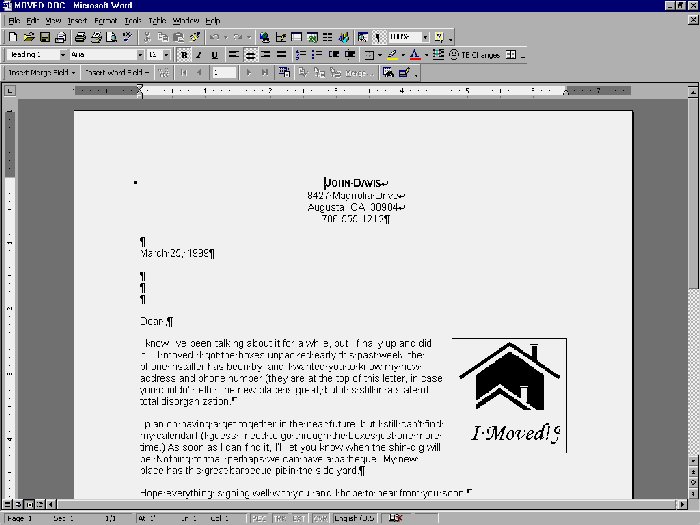
Figure 11-4 After Moved.doc is loaded.
Inserting Merge Fields
Now you need to let Word know what information you want used from the My Friends table. To indicate which Access fields you want Word to insert in the document, follow these steps:
- Position the cursor at the beginning of the first line after the date.
- Click your mouse on the Insert Merge Field button. You will see a list of fields in the My Friends table, as shown in Figure 11-5. Notice that if there were originally spaces in a field name, Access has replaced the spaces with an underscore. The underscore is required by Word. Access knows this and takes care of the conversion automatically.
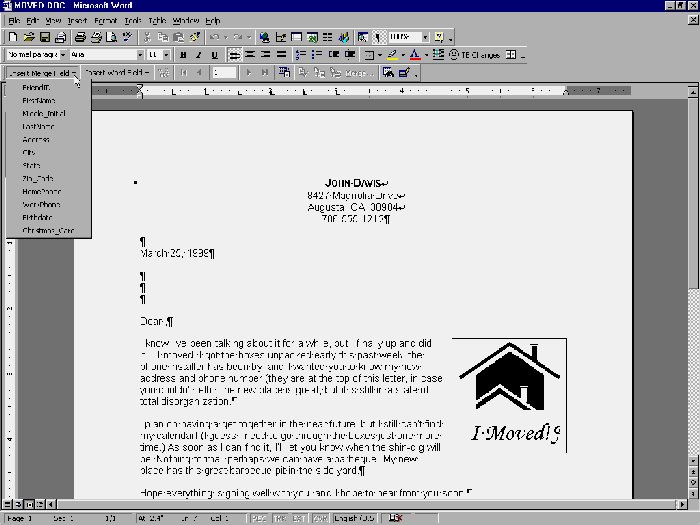
Figure 11-5 Selecting fields to insert.
Field Name Conversion
Word may not understand all the field names you have defined in Access. This is because Word is much more strict on what field names it can accept. To compensate for this, the Microsoft Word Mail Merge Wizard converts field names automatically. The following rules are followed:
1. Field names longer than 20 characters are truncated (cut off).
2. If a field name contains any characters other than letters, numbers, and underscores, these characters are converted to underscores.
There are no changes to the original field names stored in Access. The change affects only the communication between Access and Word.
- Select the FirstName field. Word inserts the field in the document.
- Press the SPACE BAR. This space will separate the first name and last name.
- Click your mouse on the Insert Merge Field button and select the LastName field. Word inserts the field in the document.
- Advance to the next line in the document.
- Click your mouse on the Insert Merge Field button and select the Address field. Word inserts the field in the document.
- Advance to the next line in the document.
- Click your mouse on the Insert Merge Field button and select the City field. Word inserts the field in the document.
- Type a comma and a space. These will separate the city and the state.
- Click your mouse on the Insert Merge Field button and select the State field. Word inserts the field in the document.
- Press the space bar twice. These two spaces will separate the state and the ZIP Code.
- Click your mouse on the Insert Merge Field button and select the Zip_Code field. Word inserts the field in the document.
- Position the insertion point on the next line, after the word Dear but right before the comma.
- Click your mouse on the Insert Merge Field button and select the FirstName field. Word inserts the field in the document.
You are now done putting your merge document together. Figure 11-6 shows how your screen should look.
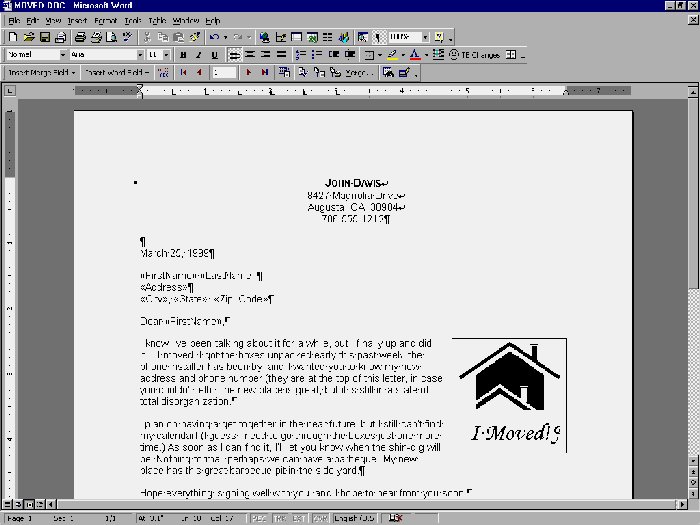
Figure 11-6 The finished merge document.
Merging the Document and the Data
At this point, you have several options:
- You can save the document and print it later.
- You can create a brand new document that is the result of the merge document and the data being joined together.
- You can print the merged documents directly to the printer.
For right now let's choose the second option. To do this, click your mouse on the Merge To New Document tool (this is the fifth tool from the right on the Mail Merge toolbar). Word creates a brand new document, with each page an exact copy of your one-page letter. The only difference is that each page is addressed to a different person. Your mail-merge operation has been a success!
What About Updates?
The Microsoft Word Mail Merge Wizard creates a dynamic link between your Access data and the Word document. This link means that any time you modify the data in the Access table, the updates are automatically available in your Word document. All you need to do is merge the information again from within Word. This is done in the following manner:
- Start Word.
- Open the Moved.doc document.
- Click your mouse on one of the merge buttons on the Mail Merge toolbar.
That's all there is to it! If, for some reason, you need to update the Access data while you are using Word, you can click your mouse on the Edit Data Source tool on the Mail Merge toolbar. This opens the Access program window and displays the Datasheet for the table (My Friends). Again, any changes you make are immediately available to Word.
Learn Access Now! Chapter 10 Previous Section in Chapter 11 Next Section in Chapter 11 Chapter 12